Setting up a custom Thinkific checkout page (Essential Plan)
Quick start guide for setting up Thinkific and CheckoutJoy.
Introduction
This guide will help you install the CheckoutJoy App for Thinkific from the Thinkific App Store and set everything up to start taking payments through CheckoutJoy
This guide is for Essential Plan users on setting up a checkout page in Thinkific using the Thinkific Site Builder and the CheckoutJoy Custom Checkout Section. To set up a custom checkout page in CheckoutJoy, please check our Pro plan guide.
Tutorial
1. Install the app
First step is to install the CheckoutJoy App from the Thinkfic App Store. This sets up the authorization between the systems and grants CheckoutJoy access to your account to enroll new students in your Thinkific account.
If you don't have a CheckoutJoy account already, you will guided through the signup process during the installation process. Follow the steps and confirm your email to activate your CheckoutJoy account.
You must have the Pro+Growth plan in Thinkific to install the app.
2. Import your Thinkific Products
Now that you've installed the app and created your CheckoutJoy account, the next step is to import your products.
Head over to the Products page and select the Import from Thinkific option - this will pull all your products into CheckoutJoy. From here you can edit the pricing details of your products.
3. Configure your Payment Processor(s)
Now you can set up your payment processor from the Settings > Payment Processor page. You can configure multiple processors if you want. Visit our processor specific help pages to see details on how to set up each processor.
Remember to set up the webhook
4. Create a custom page
Everything is set up now on CheckoutJoy's side, now you can create your checkout page in Thinkific.
You'll see a new custom section in your Thinkfic Site Builder called Checkout which is what we're going to use to create a checkout page. More details on the section here
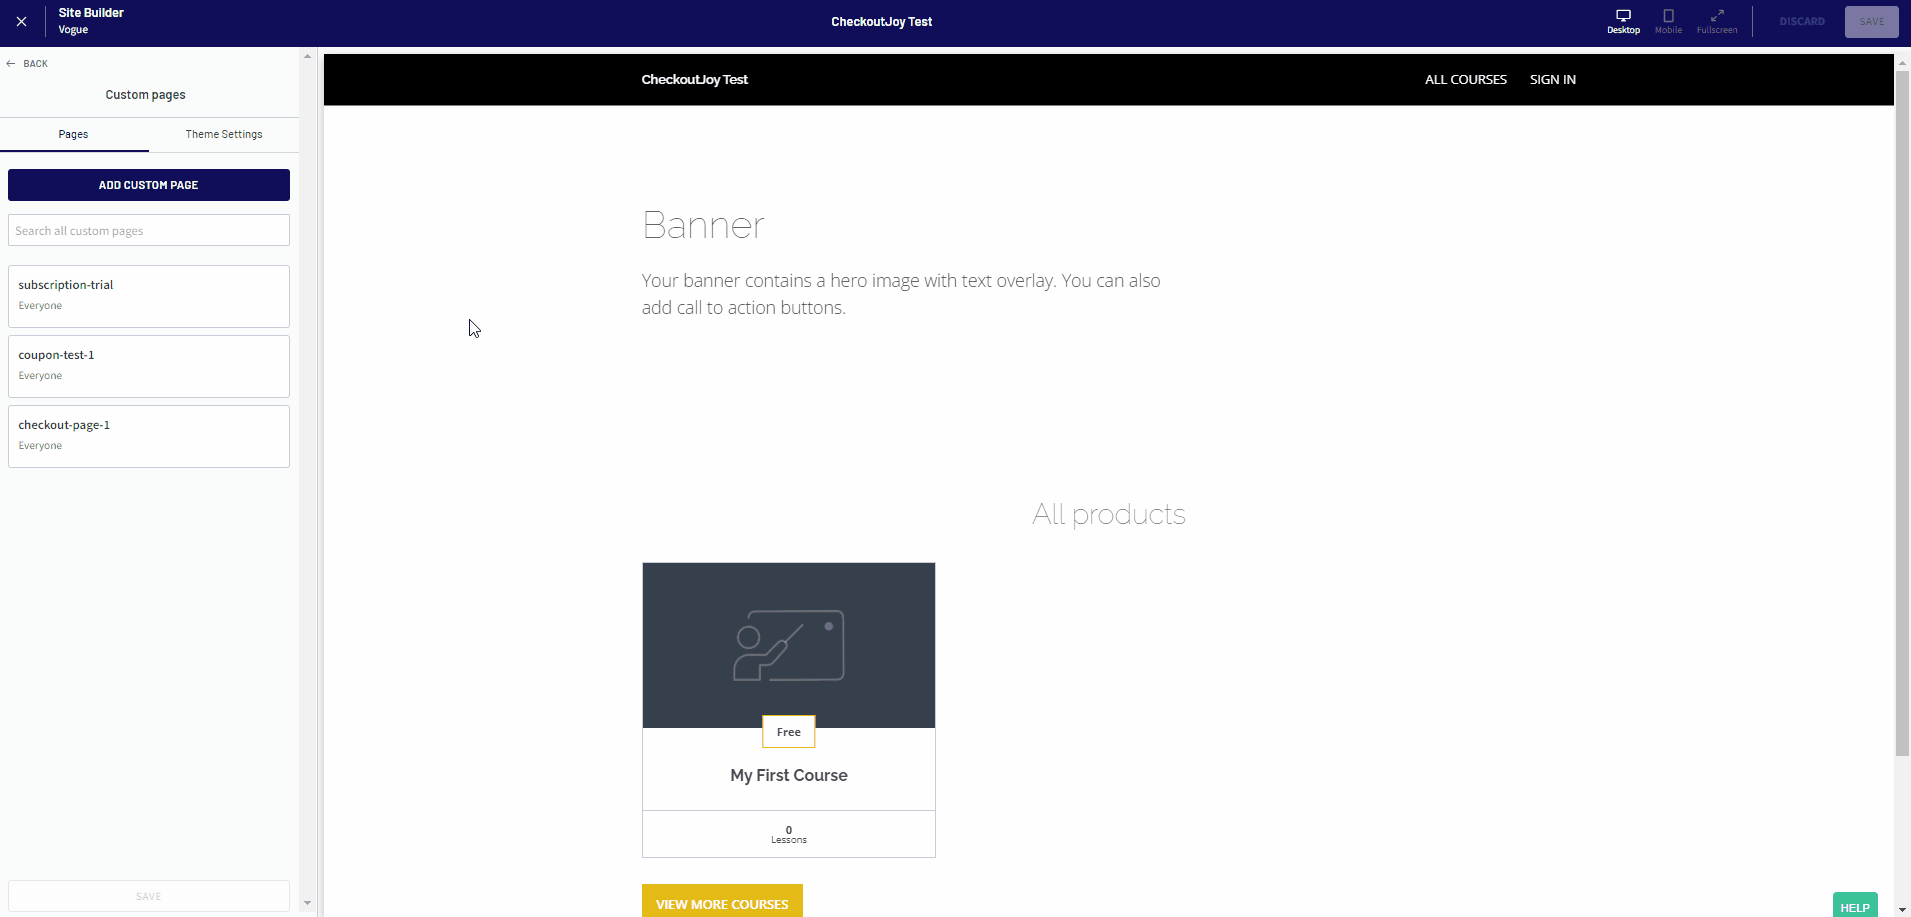
Step 1 - Create a new Custom Page
In your Thinkific site builder - create a new Custom page. Give it any name you want, but something including "Checkout" will probably make sense.